General Use
This section of the CSMMT User Guide will provide you with a brief tutorial of the simplest way to get started using CSMMT. Follow along and you'll be up and running with CSMMT in no time. Alternatively, if you do not want to read this help guide, CSMMT offers a fairly straight forward interface with built in help. You can jump right into the program and try things out for yourself if you wish.
It is HIGHLY advised that you at least read the notice marked "IMPORTANT" first though, as this tells you how to regain control of CSMMT if you lose it.
Tutorial:
First, start CSMMT. You can find the shortcut to CSMMT under the Windows Start Menu. Select Programs>CSMMT (or whatever program group you chose to install to).
Note that if you’re running Windows Vista or Windows 7, you’ll get a prompt requesting Administrative Privileges (if UAC is enabled) when starting the application. While every effort was made to comply with UAC guidelines, it’s unfortunately not possible for the software to work properly without Administrative rights.
-- CSMMT is UAC compatible however (starting from version 1.1 onward), and can be configured to start with Windows without a UAC elevation prompt. Please see the Start with Windows section of the user-guide for details how to configure CSMMT to Start with Windows.
If you get any errors at this point, see the TroubleShooting section / contact support.
If unregistered the first thing you will see whenever starting CSMMT is the unregistered splash screen (it will come up on whatever monitor is your primary display). You may notice that your mouse is locked into the area of the dialog and that Windows Hotkeys such as Alt-Tab are not working. Just wait a moment and the screen will go away on its own.
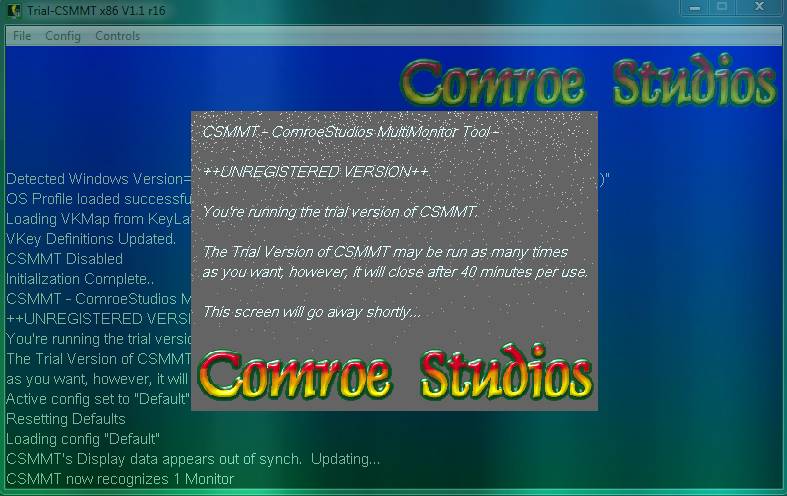
After the trial-screen has faded, your CSMMT Trial Session has begun. You will have 40 minutes each Trial Session so that you can verify that all the software you want to use with CSMMT properly works. If you run out of time, don't worry as you can get as many trials as necessary to properly judge if CSMMT will work for you. If you restart the program you will get an additional 40 minutes every time.
IMPORTANT
Be sure to read the following until the END
The first actual screen of the program that you'll be presented with is referred to as the Control Panel.
The CSMMT Control Panel itself acts as a message log for the program (you can resize the Dialog if needed to see recent messages). Everything that gets done in CSMMT from standard verbose to errors gets displayed here. In addition to an immediate log-message viewer, you can get to all the program's configuration options from here. What this means is that you only have one Keyboard Macro that you need to remember in the event that you get stuck (by accidentally setting CSMMT to a display when you didn't want to). The Control Panel macro is " Control P " by default if you're using the pre-provided US101 Keyboard Layout. If you Enable CSMMT on another display than the primary, and minimize the CSMMT Control Panel, you can hit that Macro to regain control. The Control Panel will follow the mouse from screen to screen, so even if it comes up on another display don't panic.
-Ideally you may want to setup a full slew of Keyboard Macros for everything in CSMMT; however, this section of the guide will not cover Macro Assignment.
END of the important stuff
The next thing that you're probably going to want to do is identify how each of your monitors is numbered numerically (since you choose displays in CSMMT by number). You can do this right in CSMMT without opening your display properties. Just pull down the Config Menu in CSMMT and select Show Displays. After you do this, CSMMT will show you the identification of each of your monitors so take note of their numbering.
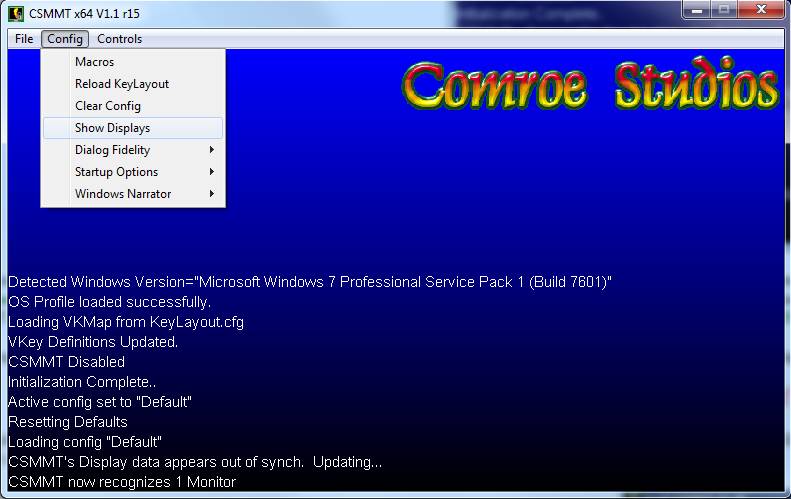
Below is an example of what you'll see after clicking Show Displays.
Now that you know what the numbering of your displays is, it's time to move onto actually using CSMMT. So, go back to the CSMMT Control Panel (Control P if it's not visible, or double click the CSMMT icon in the lower right TaskTray). The TaskTray icon if you've been following will look like the following..

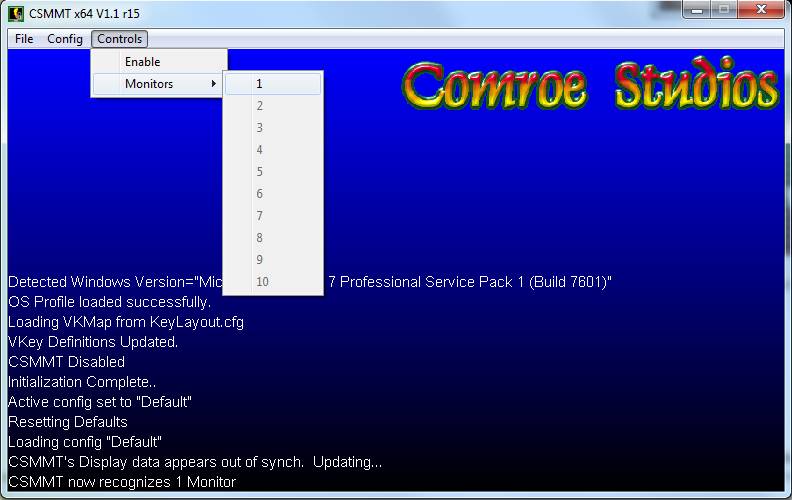
The next thing we're going to do is select a Display for CSMMT to use. On starting the program Display 1 is selected already by default, but we will select Display 1 again for the sake of doing it. Pull down the Controls Menu, then the Monitors Menu, and Select Monitor 1. CSMMT will only permit you to select configured displays on your computer. Though there are 10 displays shown (as most Windows OS's by default support 10 displays), you will likely have some grayed out.
After selecting Monitor 1 a Dialog will pop up asking you to confirm your selection. These confirmation prompts will only show up whenever you make a Monitor Selection by this Menu. Don’t worry, if you use a hotkey for selecting a display there will be no annoying popup. This is just a security measure to make sure you don't accidentally lock your control onto a Monitor unintentionally.
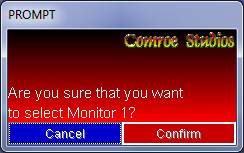
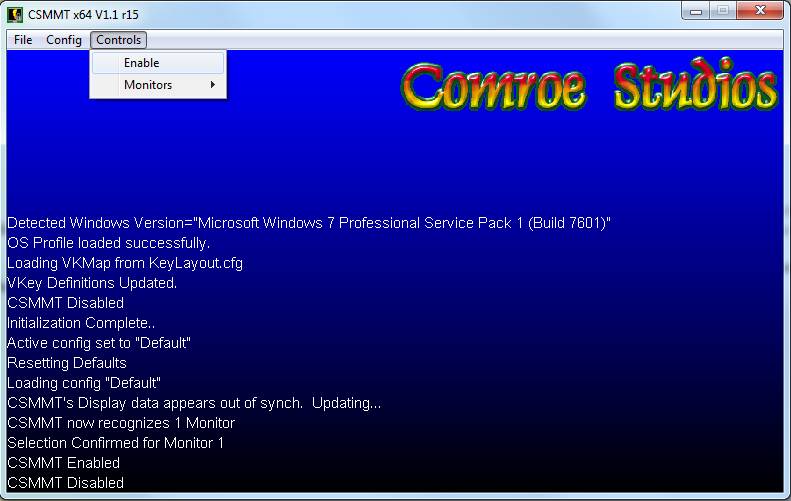
Confirm this Dialog; you should see that the selection of Monitor 1 was confirmed in CSMMT's log.
Now that we've selected an active Monitor, it's time to put ourselves into "Single Display Mode" for that Monitor. What this basically means is that all mouse movement is going to be clamped or locked onto that Monitor, thus permitting us to run non Multi-Monitor capable software without any problems. To get into Single Display Mode, all you need to do is Enable CSMMT. You can Enable CSMMT by pulling down the Controls Menu and selecting Enable, but don't just yet..
Enabling CSMMT will put you into Single Display Mode, locking your mouse cursor onto the Monitor that you've selected as the active display. Keep this in mind and try moving your mouse around the screen after you enable CSMMT. Ok, now go ahead and enable Single Monitor Mode to try it out. (If you can't get back to this help screen since you're in Single Monitor Mode, you can go ahead and disable it)
Note that now that you've enabled Single Monitor Mode (enabled CSMMT), the Enable Menu option has turned to Disable. The icon in the Windows TaskTray has also changed to reflect CSMMT's status, as you can see below. The icon on the left side indicates that CSMMT is disabled (the monitor with the red screen). The icon in the right side indicates that CSMMT is enabled (the black screen with a lightning bolt). By looking at the task tray icon you can quickly tell if you're in Single Monitor Mode or Multi Monitor Mode.
![]()
That's it! That's all you need to know to get started using CSMMT. I recommend that you close and restart CSMMT before trying to run your Software with it active (to reset your 40 minute time trial period). Startup CSMMT, set Single Display Mode on the monitor your software will run on, and then start your Single Display Software.
To figure out more, such as using Macros or starting CSMMT automatically with Windows, check the other sections of the guide linked from the index of this user guide.